SiteMaker: The Basics 1. Adding your Site Name
This tutorial will highlight some of the basic functions of SiteMaker.
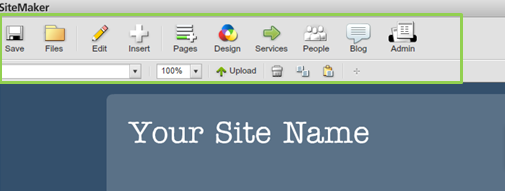
The first thing to note is the editing toolbar across the top of the screen. It is this toolbar that will allow you to design a great looking site.

One of the first things you will want to do with your new website is to display your website name. To do this, double click the top section of your Home page.

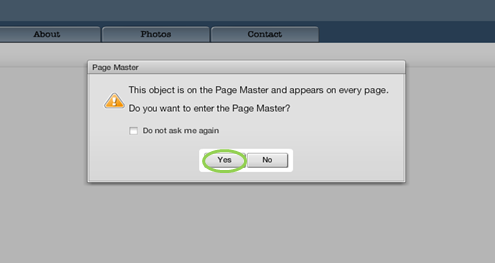
A dialog box will appear stating that you will be accessing the Page Master. The Page Master is the area that will appear on every page of your site. Click Yes.

Double click the current site name to activate the ‘text box’. Delete current text and enter your new site name. You can also drag and position the text box elsewhere. Click Save.

Within the Page Master you can also pick up and reposition your menu. Click Save when you have finished.


