New Outlook: Setting Up IMAP
Before following this guide, please ensure that you have created your mailbox correctly within your Online Control Panel. If you aren’t sure that you have done this, please follow the guide found on the link below and then come back here.
Now that you’ve created your mailbox, you’ll need to set it up in New Outlook so that you can access it without having to log in to Webmail. Please ensure that you have New Outlook open before you follow the steps below.
To set up your email with Imap there are two ways. If you already have an email set up in New Outlook, continue following this guide. If you do not have an email already set up then skip to step 3.
Step 1
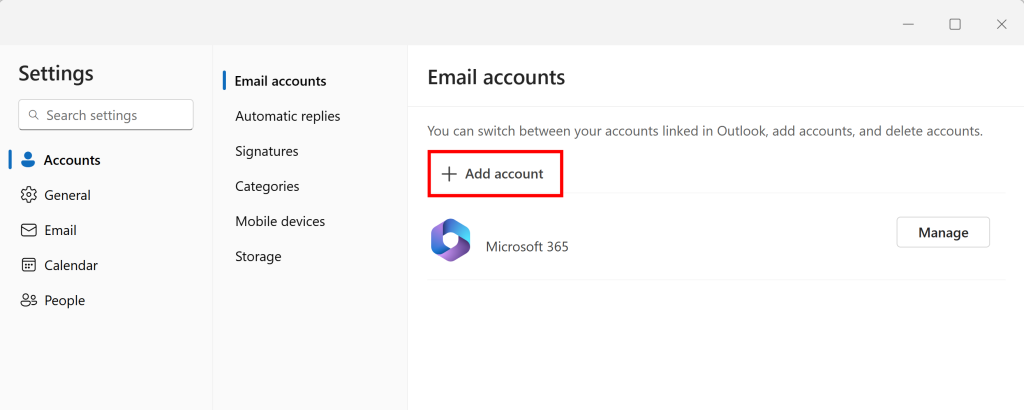
If you already have an email set up in New Outlook, click on the settings icon at the top right of the screen.

Step 2
Select Add account.
Step 3
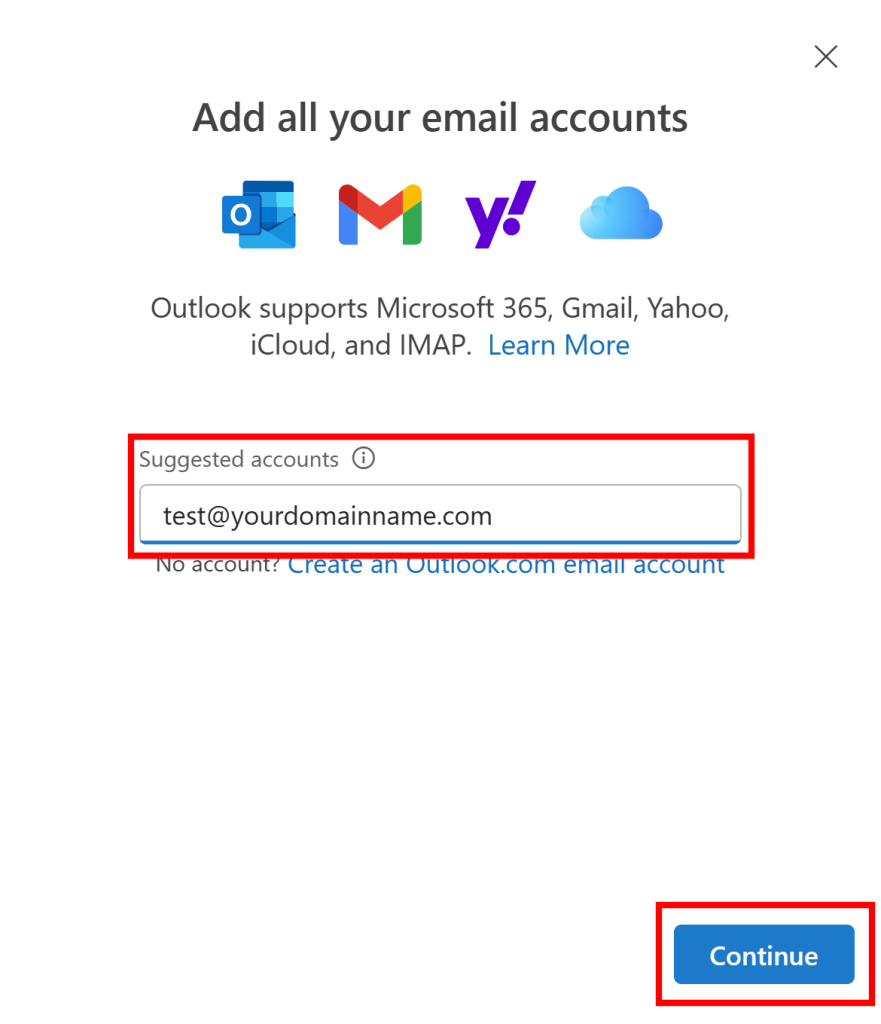
If you don’t already have an email address set up you will be greeted with this screen first. This screen is where you will need to put in your email address and press continue.
Step 4
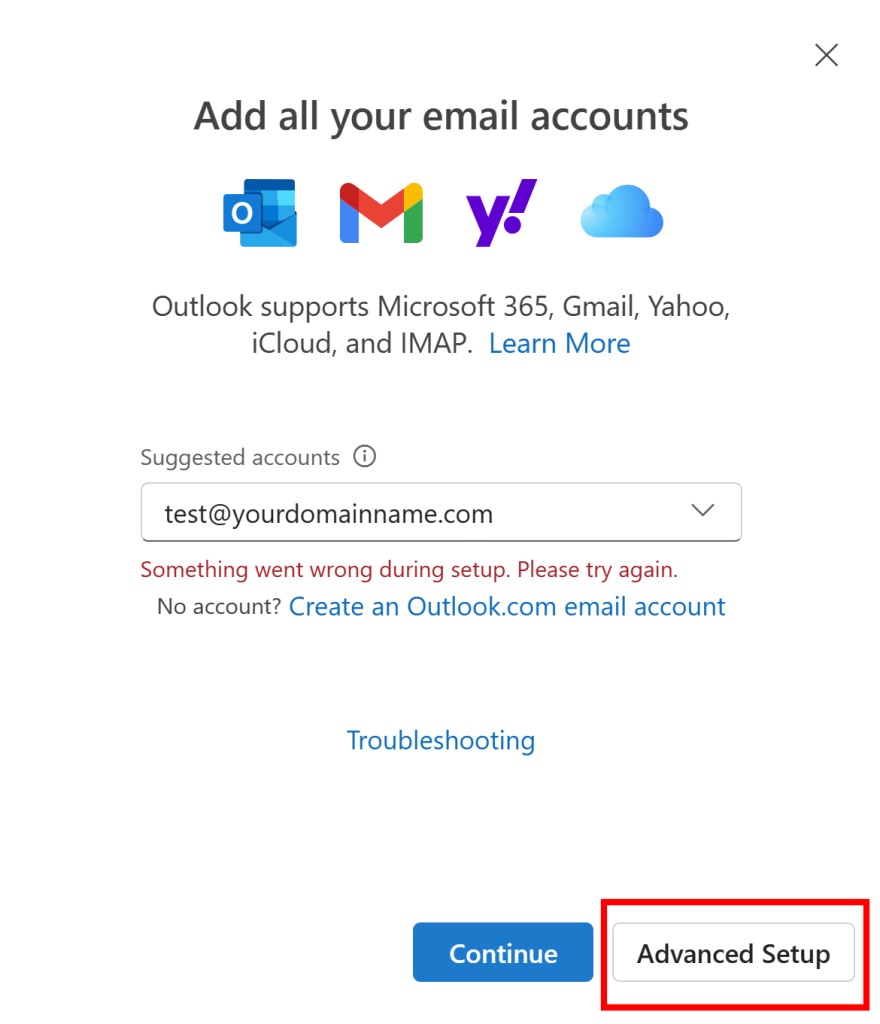
If Outlook does not detect your email immediately, you can select advanced setup to input the correct SMTP settings.
Step 5
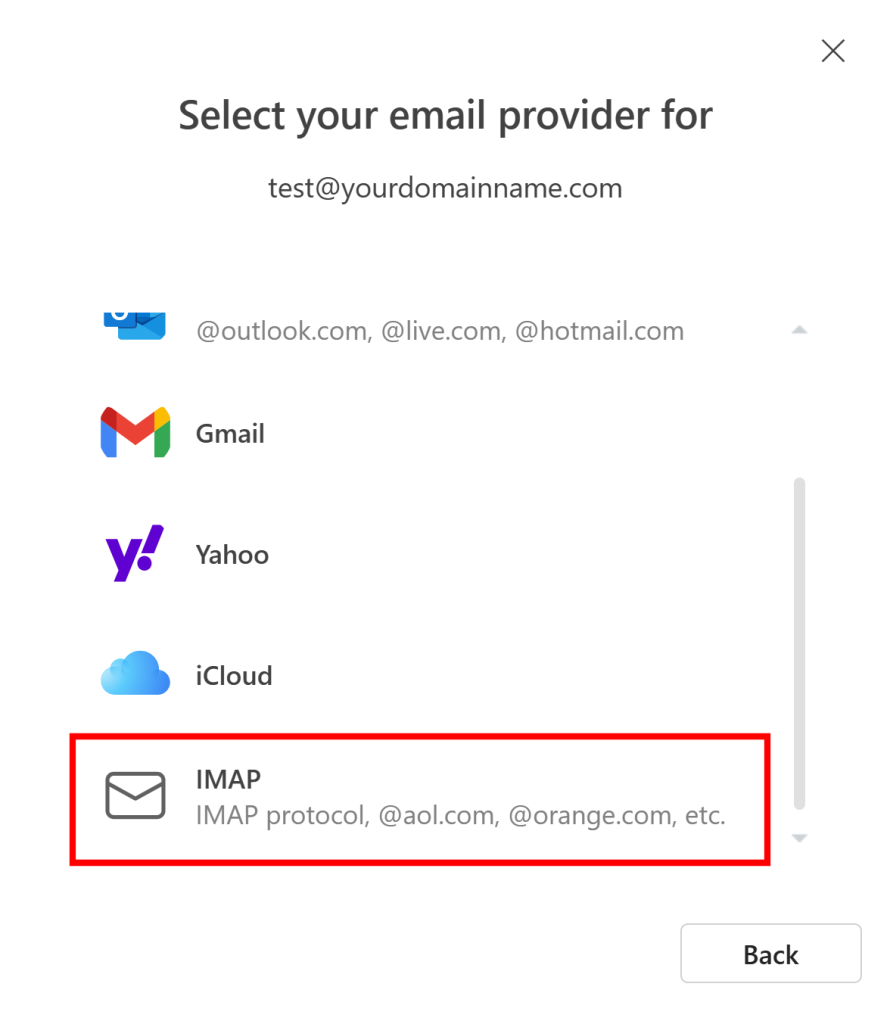
In the advanced setup scroll to the bottom and select IMAP.
Step 6
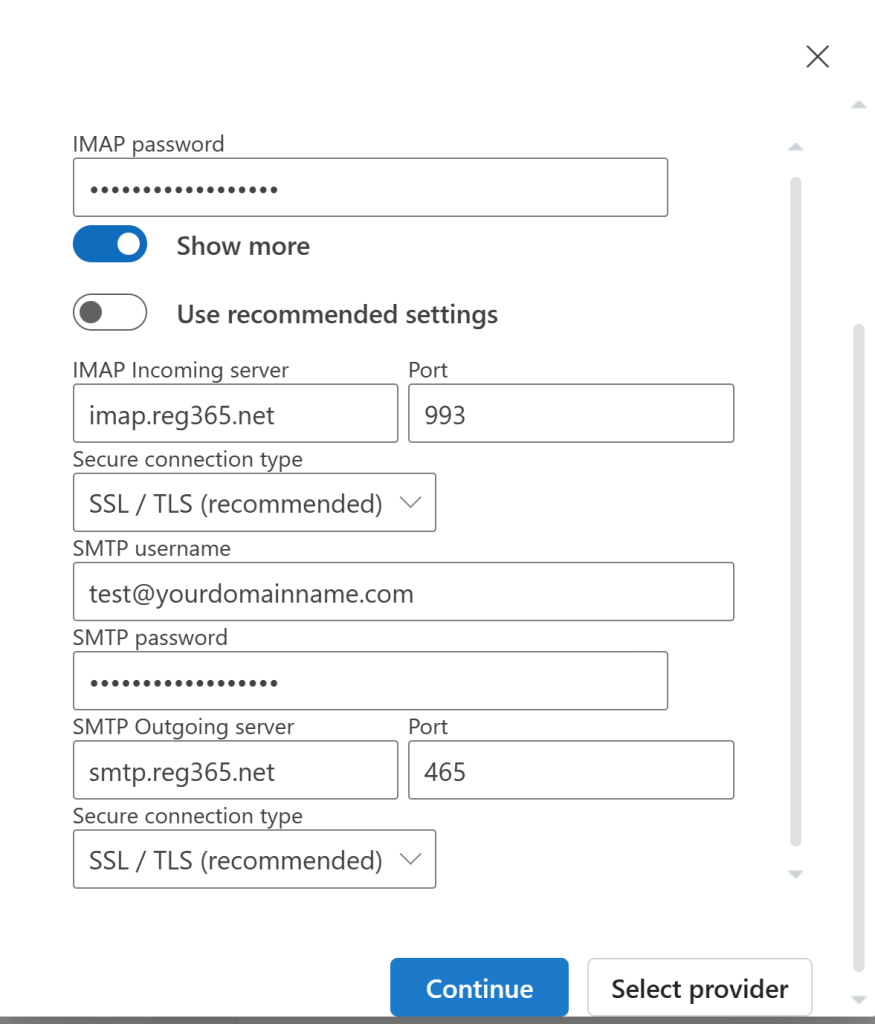
You will then be given a new window asking for the SMTP information. If you do not have a page with the SMTP settings, click the Show More button. The information that you will need to provide is:
IMAP password: This is your webmail password.
IMAP Incoming Server: imap.reg365.net
Port: 993
Secure connection type: SSL / TLS (recommended)
SMTP username: This will be your entire email address.
SMTP password: This is your webmail password.
SMTP Outgoing server: smtp.reg365.net
Port: 465
Secure connection type: SSL / TLS (recommended)
NOTE: If the continue box is greyed out after filling all the boxes in, try selecting none on the final secure connection type box and then selecting SSL / TLS (recommended) again.
Then Click Continue.
Step 7
After clicking continue you will be asked to sync with Outlook. Click Continue on this one to proceed.
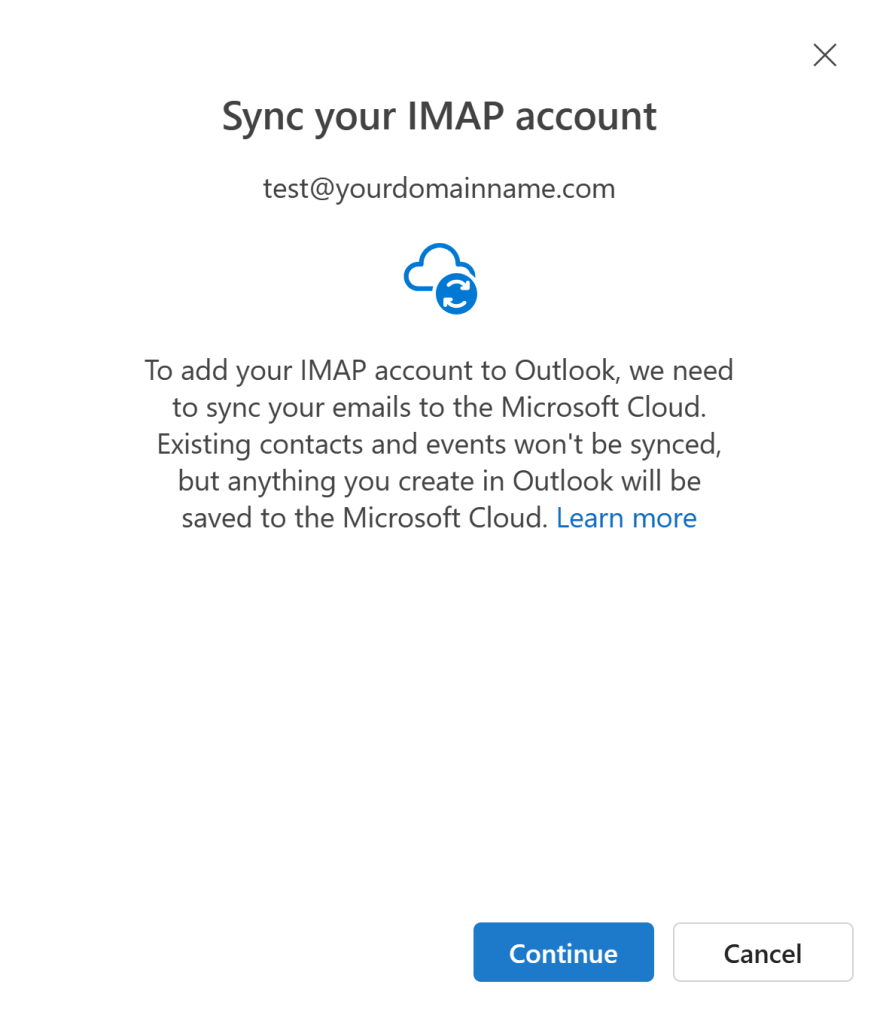
Once you have clicked continue you will know it has worked if it says setting things up. Once it has done this you will be asked some privacy questions and theme questions. You can continue with these or skip them.

Once this is all done your email will be set up.

