How to Add an Image
Info: This article applies to Website Builder purchases made after 14th January 2025. For further assistance, please contact our support team.
In this article, you will learn how to add an image to your site. The recommended image resolution for your website is 900x600px, with a JPEG file size of approximately 250 KB. Keep in mind that higher image quality requires more storage space, which can increase loading times. To ensure fast page loads and minimize bandwidth usage, we suggest reducing the file size of your images where possible.
Getting Started
To get started, you first need to log into the web builder through your Online Control Panel. Unsure how to do so? Follow our guide HERE
Step One
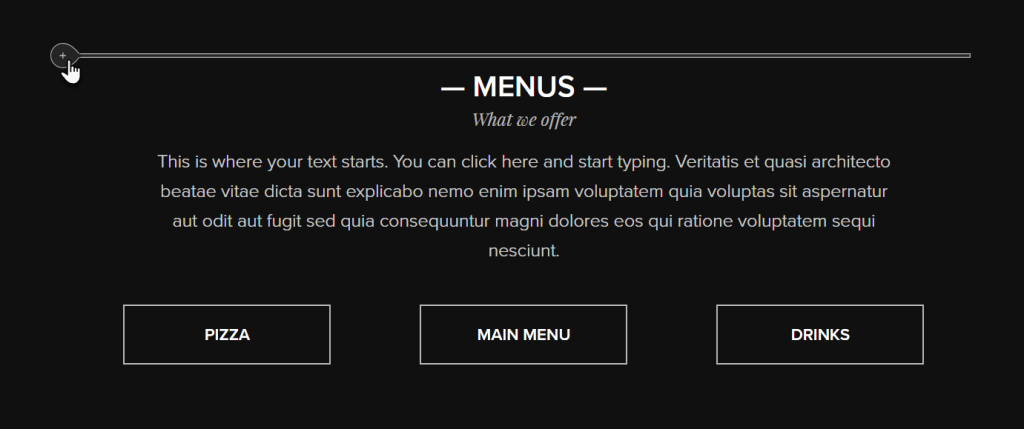
Position your mouse in the section so that the plus button for adding new content becomes visible.

Step Two
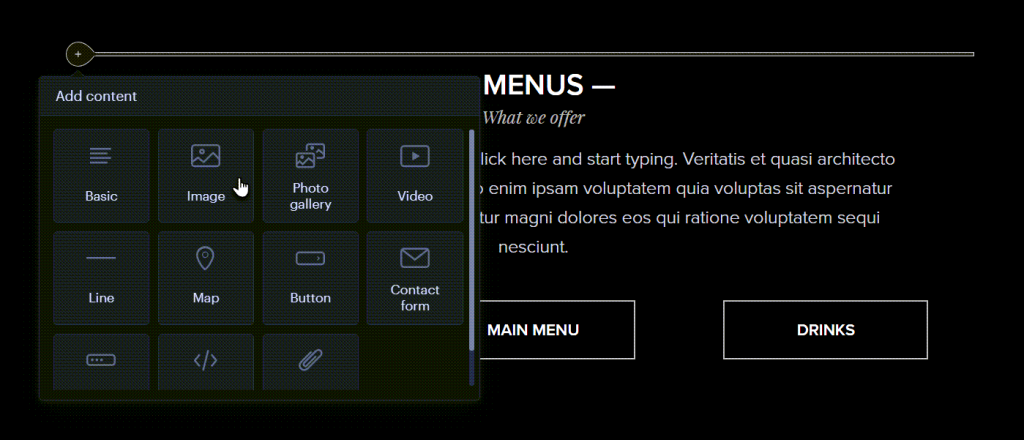
Click the plus button < Image.

Step Three
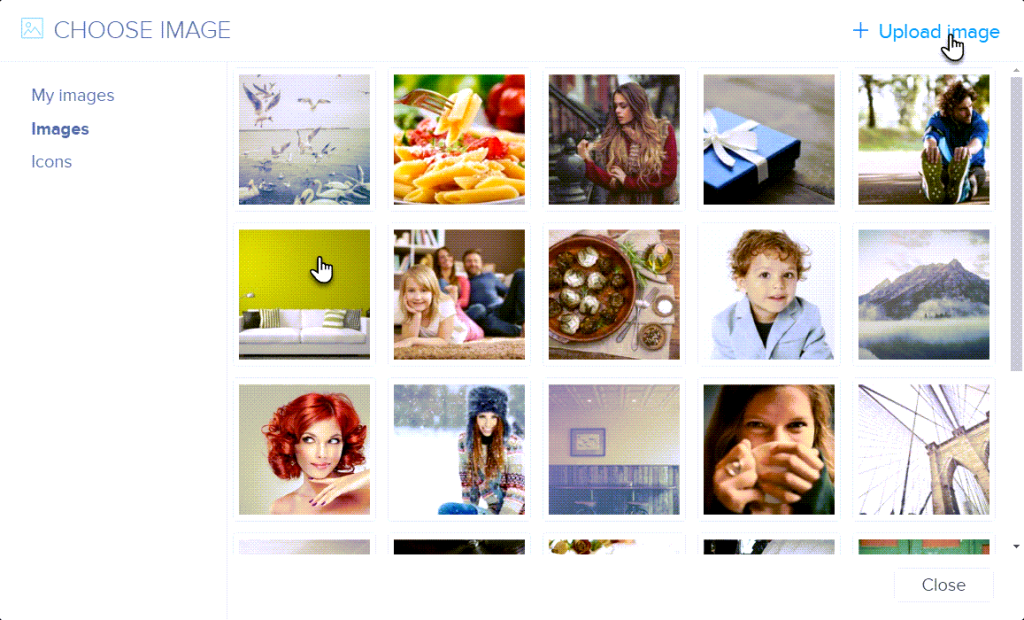
You can then add a new image from your computer, or you can browse through the image gallery.

Step Four
Select an image from the gallery, or you can select upload image.

Step Five
Clicking on the image will allow you to make further edits to it, or you can delete the image. You can also resize it or move it anyway within the section it has been added to.

Step Six
When selecting Edit, you can then change the image or add a caption or link.

Once the desired changes have been made, you can (re)publish the site.
If you have any further questions, simply raise a support request from within your Online Control Panel or call us on 01 5255768. Our Support team are here to help and ready to assist you with your enquiry.
For assistance raising a support request please follow the following guide.

