How to setup an IMAP account on iPhone & iPad
So you’ve created your mailbox and now you want to setup your email account on your iPhone or iPad. Let’s dive in and go through the setup.
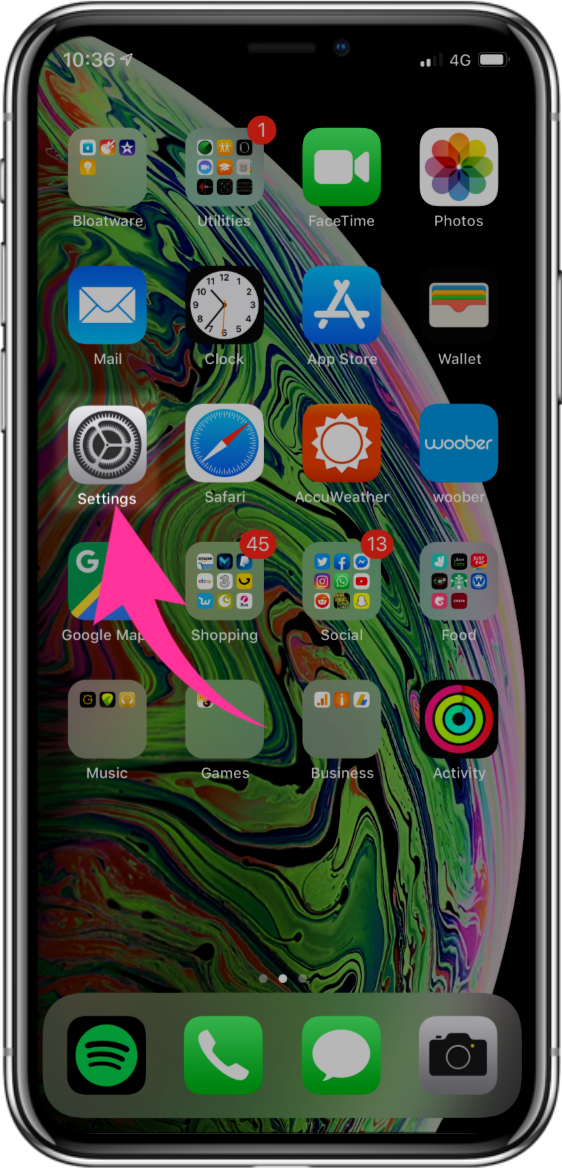
Step 1
Firstly, tap the Settings app.
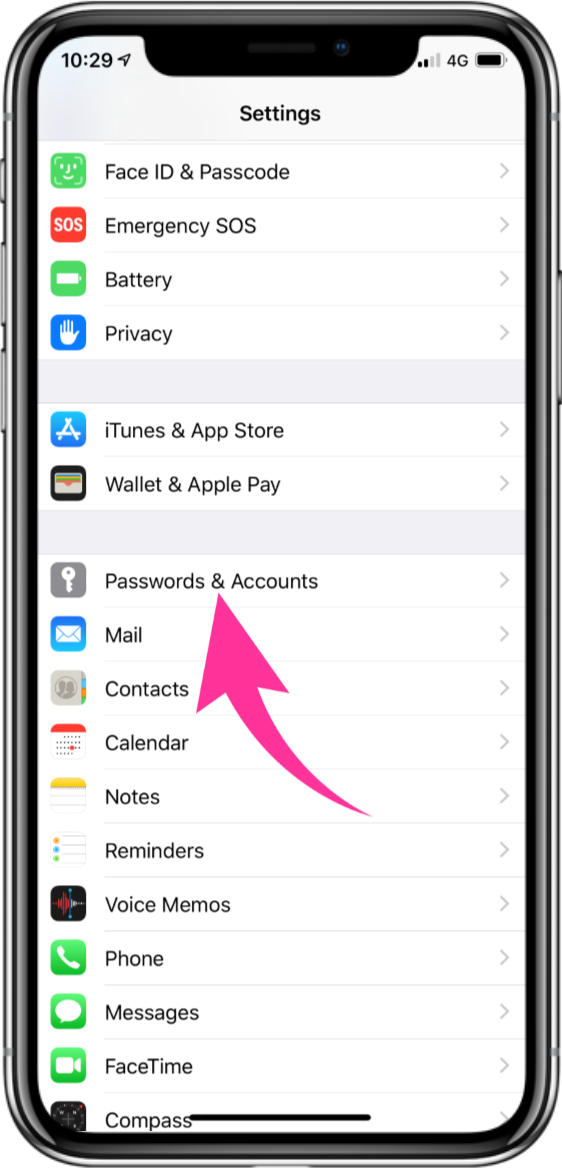
Step 2
Next scroll down and choose the option for Passwords & Accounts. On some IOS versions, this may be called Mail & Passwords.
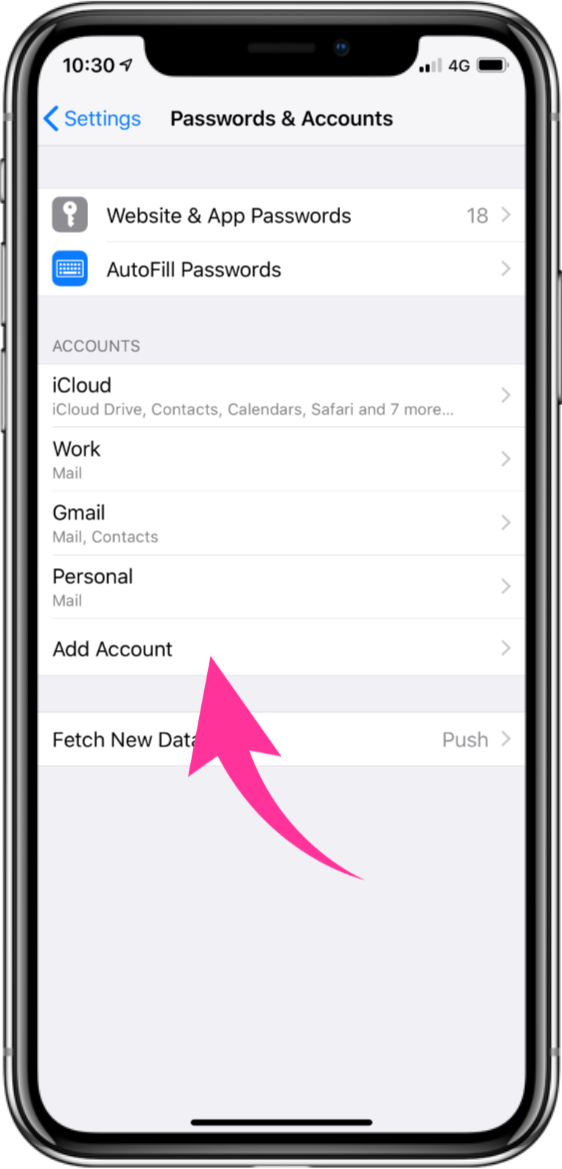
Step 3
Tap Add Account.
Step 4
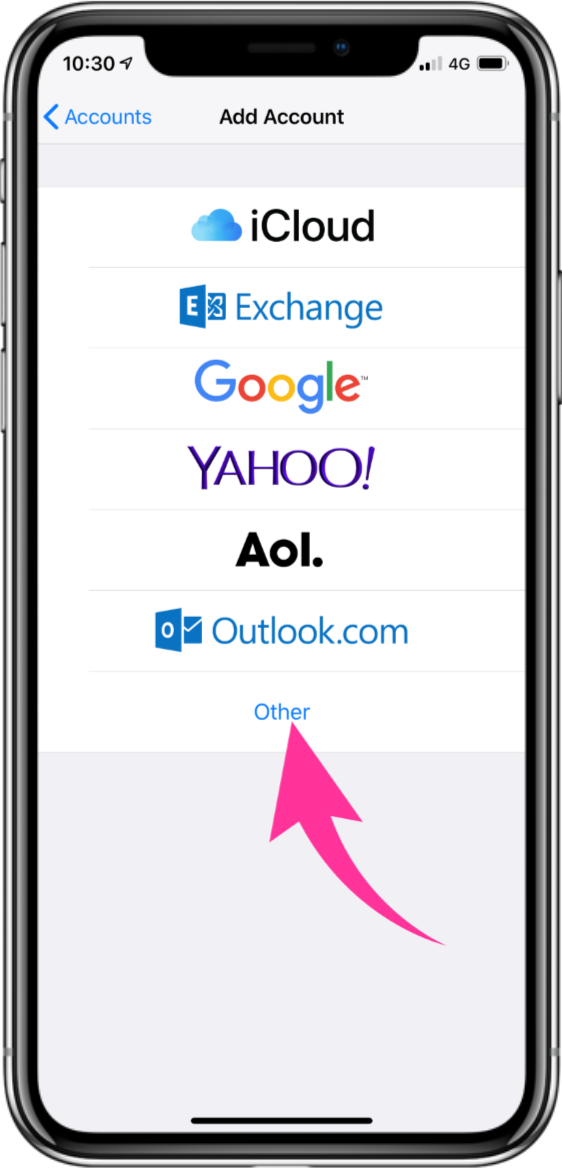
Tap the option for Other.
Step 5
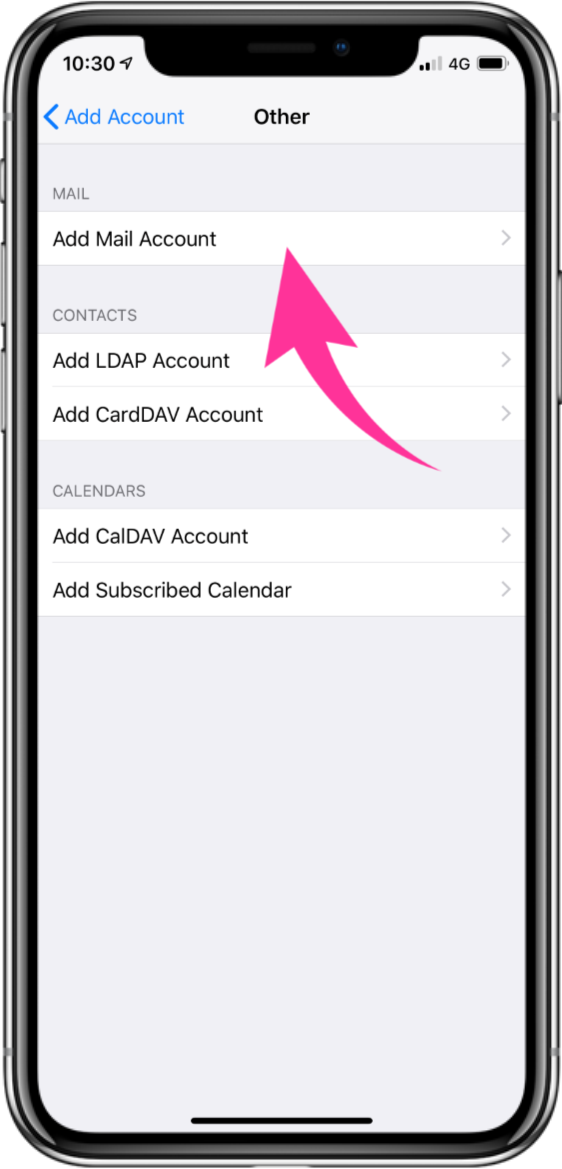
Tap Add Mail Account.
Step 6
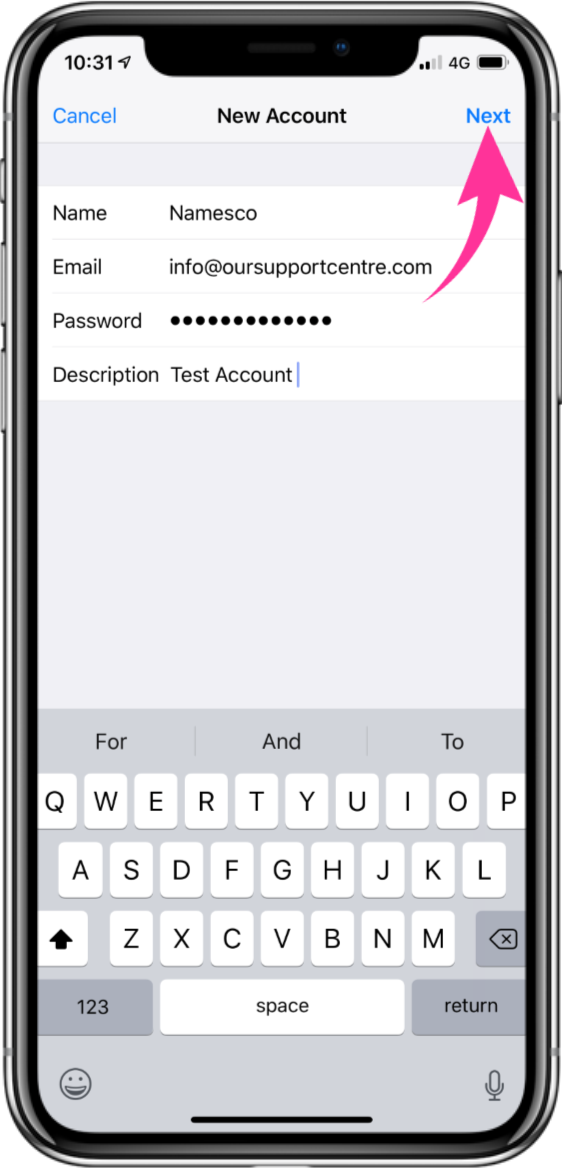
Enter your Name, Email address, Email password and a Description for your email account. Then tap Next.
Step 7
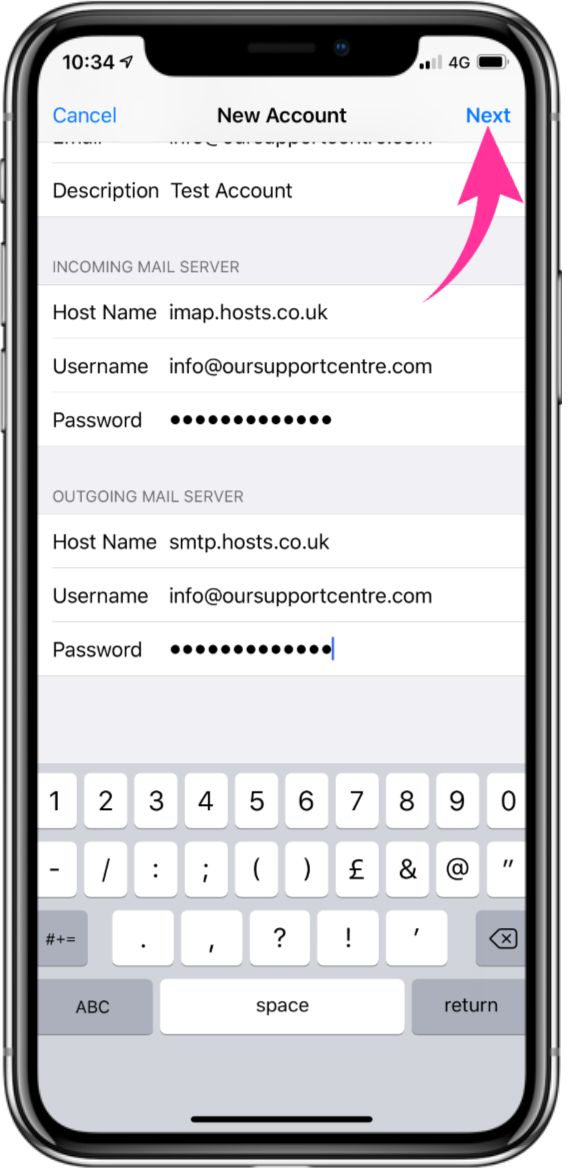
1. Choose the option for IMAP at the top.
2. Then enter both the Incoming Mail Server and Outgoing Mail Server settings, as shown below.
Info: You will need to enter your Email address and Email password as the Username and Password for both servers.
3. Once you have entered the correct settings, tap Next.
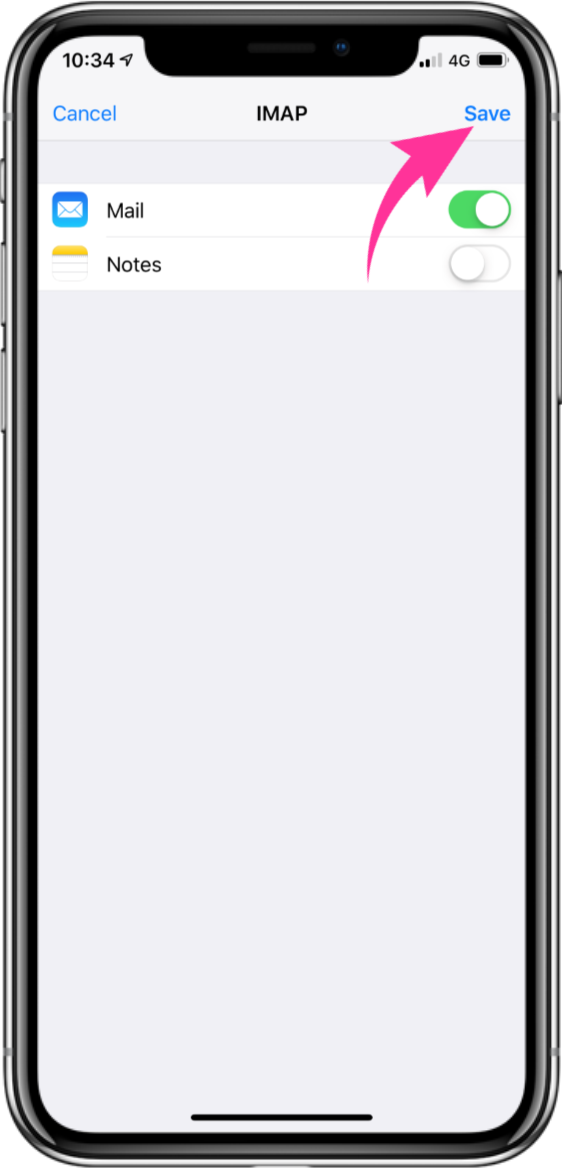
Step 8
Tap Save to complete the setup.